Posts

floating grout in Fredericksburg Va

How to regrout a shower

After years of being bombarded with water, cleaning agents, and scrubbing, your grout may have had all it can take. Grouting a shower or bathtub surround is actually quite a bit of work. All the old grout and caulk must be removed before the new grout and caulk can be replaced. We often come across jobs that were not prepared correctly and the new grout just fails. New grout cannot be floated or skimmed over old grout, it will just flake off in no time. However, we see this all the time, especially in today’s real estate market. Skim coating is common in properties for sale. It’s real hard to sell a house that has an ugly black shower, a quick skim and a bead of caulk to cover up all that black stuff might just be enough to pass it off to an unsuspecting buyer.

How to regrout a shower properly

Preparing the surface

This picture shows a properly prepared surface for the new grout. We used various grout saws, utility knives and lots of elbow grease to remove all the old grout and caulk. Many contractors or even homeowners use electric dremel type tools to do this, we prefer hand tools to reduce any risk of chipping a tile. It’s always best practice to wear safety goggles during this procedure. After all the grout and caulk is removed give the shower a good vacuum and wipe down with a damp grout sponge. If the tile had any build up of calcium or soap scum that would be cleaned real good before the grout removal, so excess water would not get between the tiles. The preparation of the shower is the most tedious and time consuming of the job, this next part goes much quicker but does require some skill level.


properly removed grout

all old grout removed


Installing the new grout

floating grout in Fredericksburg Va

Regrouting showers is something we also do.

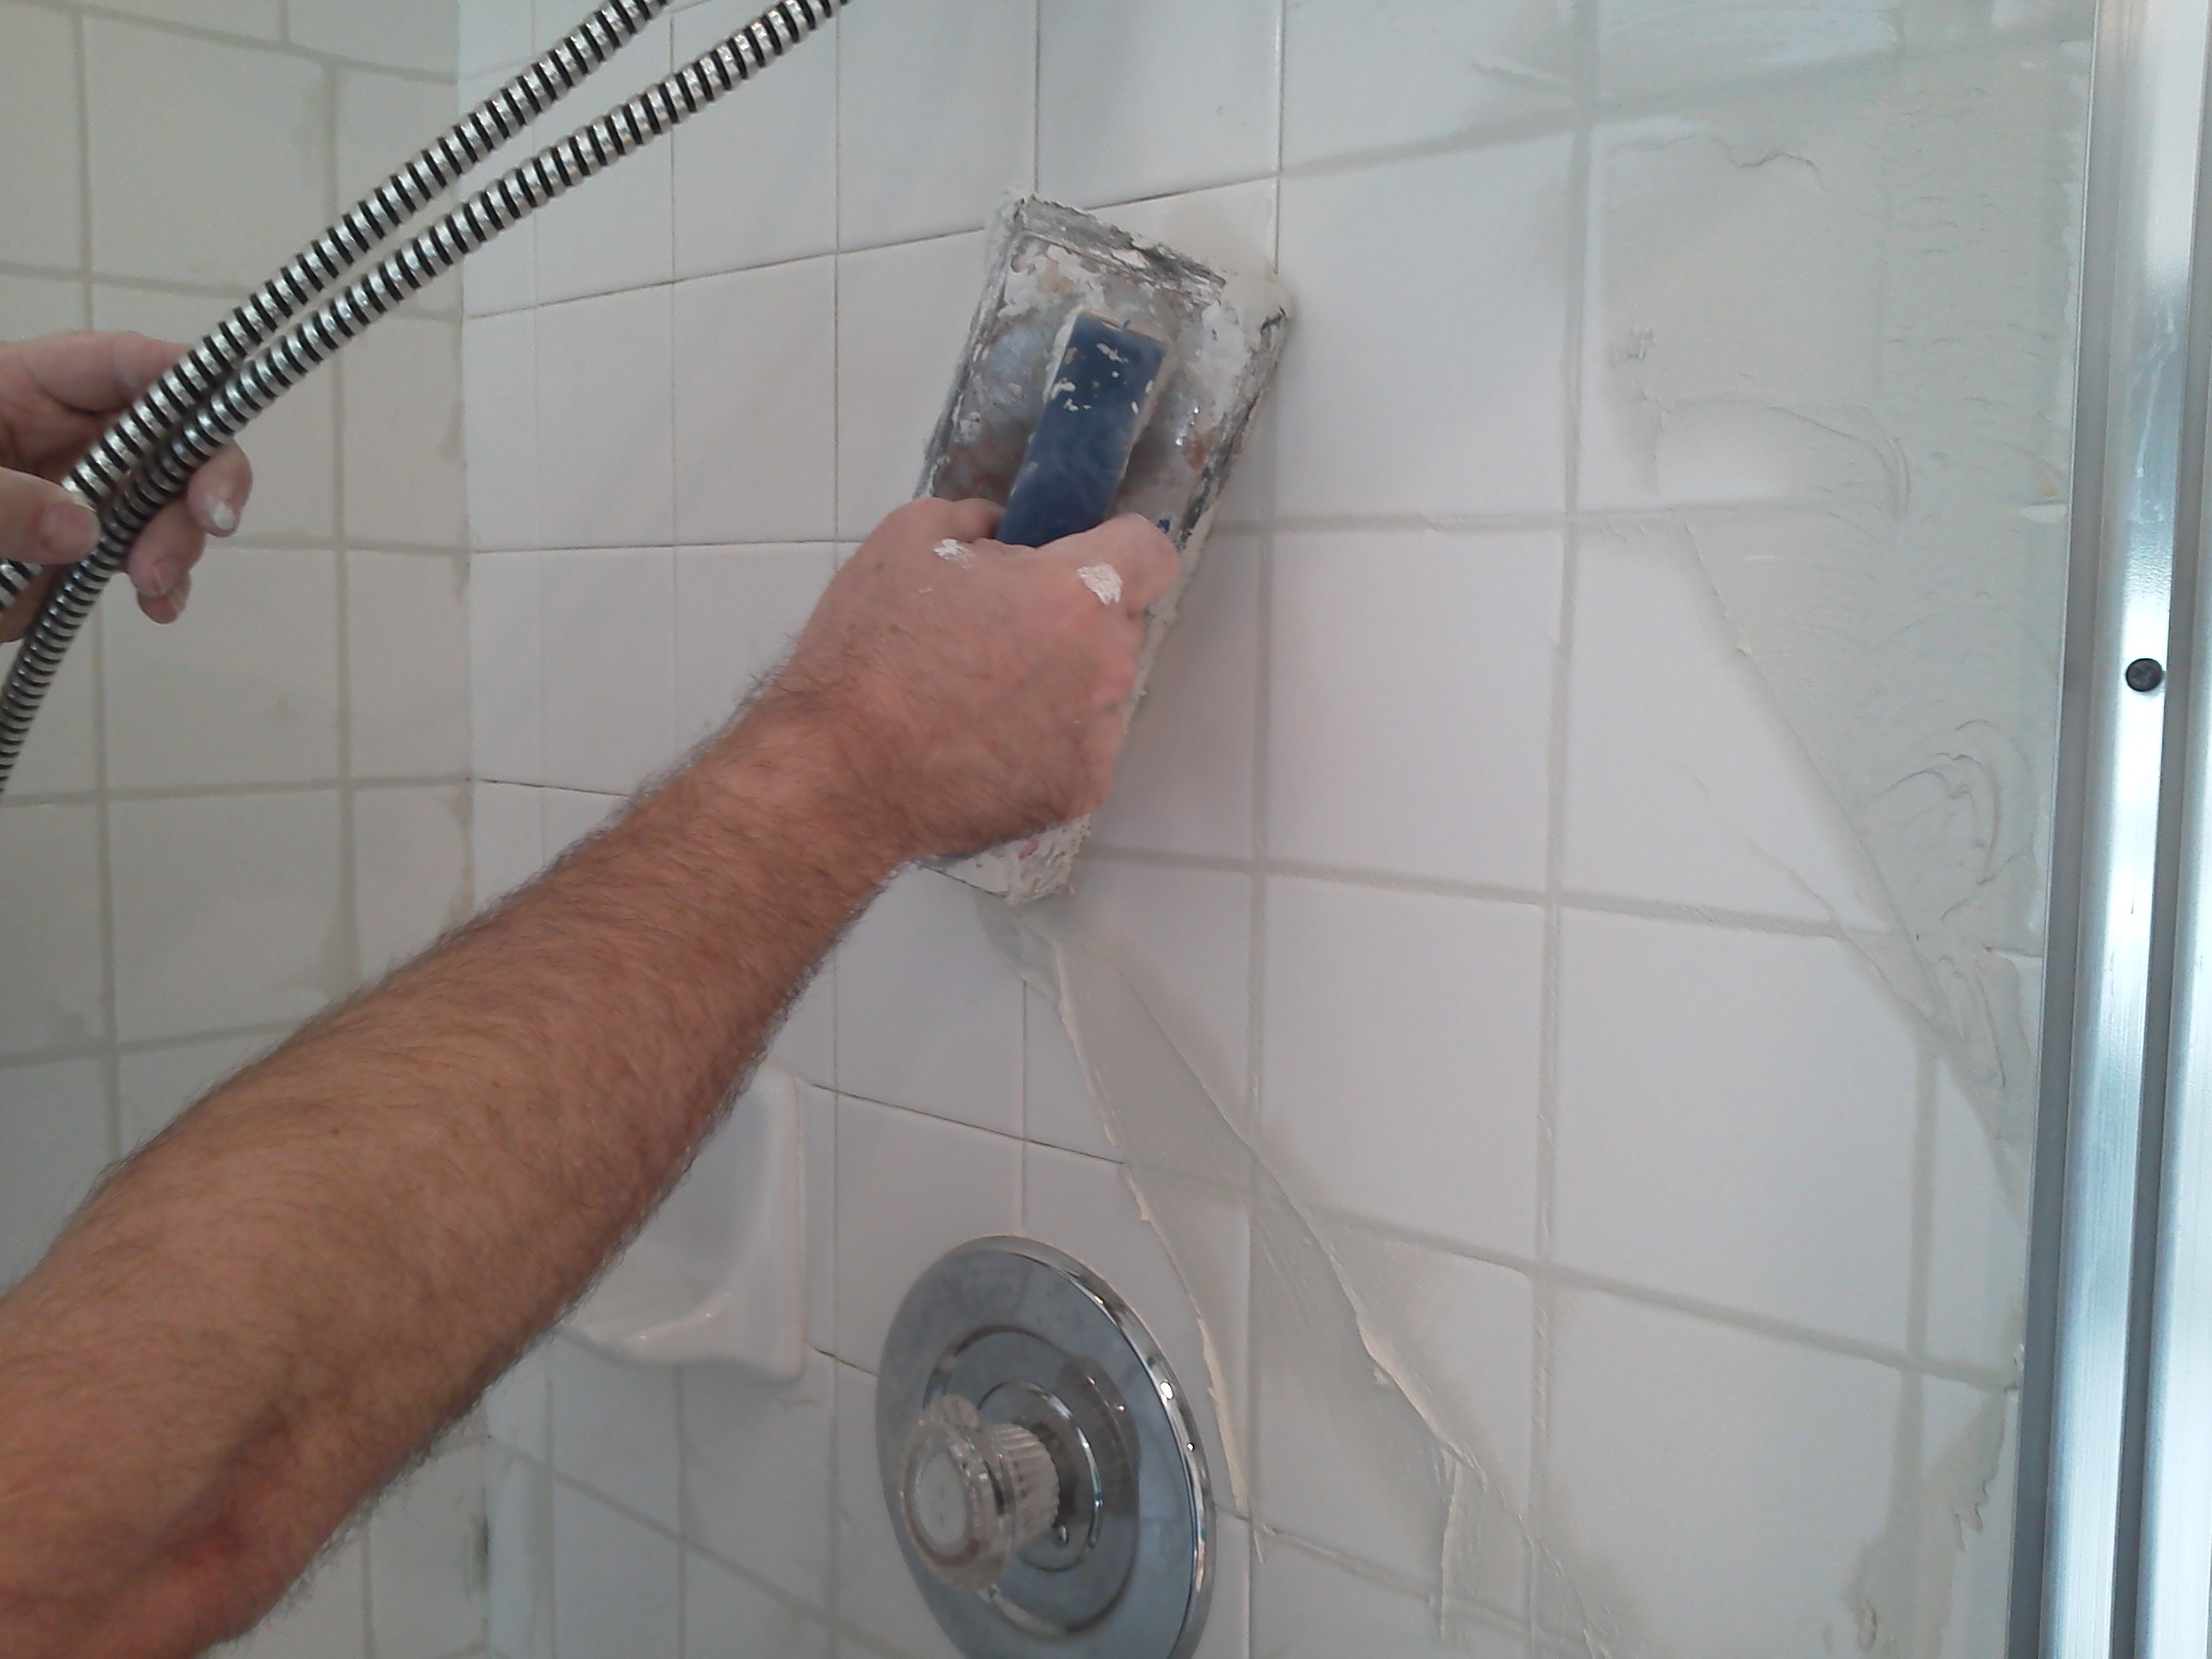
Floating grout can be a bit tricky for the newbie. Newly mixed grout is just a little thicker than pancake batter, but starts getting thicker and harder to spread as it starts to set up. That can be a problem for someone that does not have the speed of a pro. It’s important to never add water to the grout after it’s initial mixing, that will ruin it.

After working the grout into all the joints, It’s important to get as much of the excess grout off the tile by placing the float on an angle and wiping across the tile diagonally, as shown.

Clean up

After the grout has been floated onto the walls, it is then wiped clean with a grout sponge. Sponging also helps even out all he grout lines for a nice even professional look. Now this is the important part, don’t over work the grout with too much water in the sponge or re wipe areas already wiped. Just wipe it once, and leave it. The tiles will haze over and will buff off easily with a clean white terry cloth towel in about 2 hours. While buffing the tile it’s advisable to wear a respirator, the fine dust produced is not good for you to breath.

The final icing on the cake is the caulk, I like to caulk around the base of the shower pan and up the corners as well. Most of the unsanded grouts found today have polymers in the grout and don’t need sealing. I do however recommend sealing sanded grout, usually found on floors.

Pristinepete.com

sponging the tile & goout

Wiping and smoothing grout joints

Missing Grout

A minor shower repair could save thousands.

Small spots of missing grout

Missing Grout

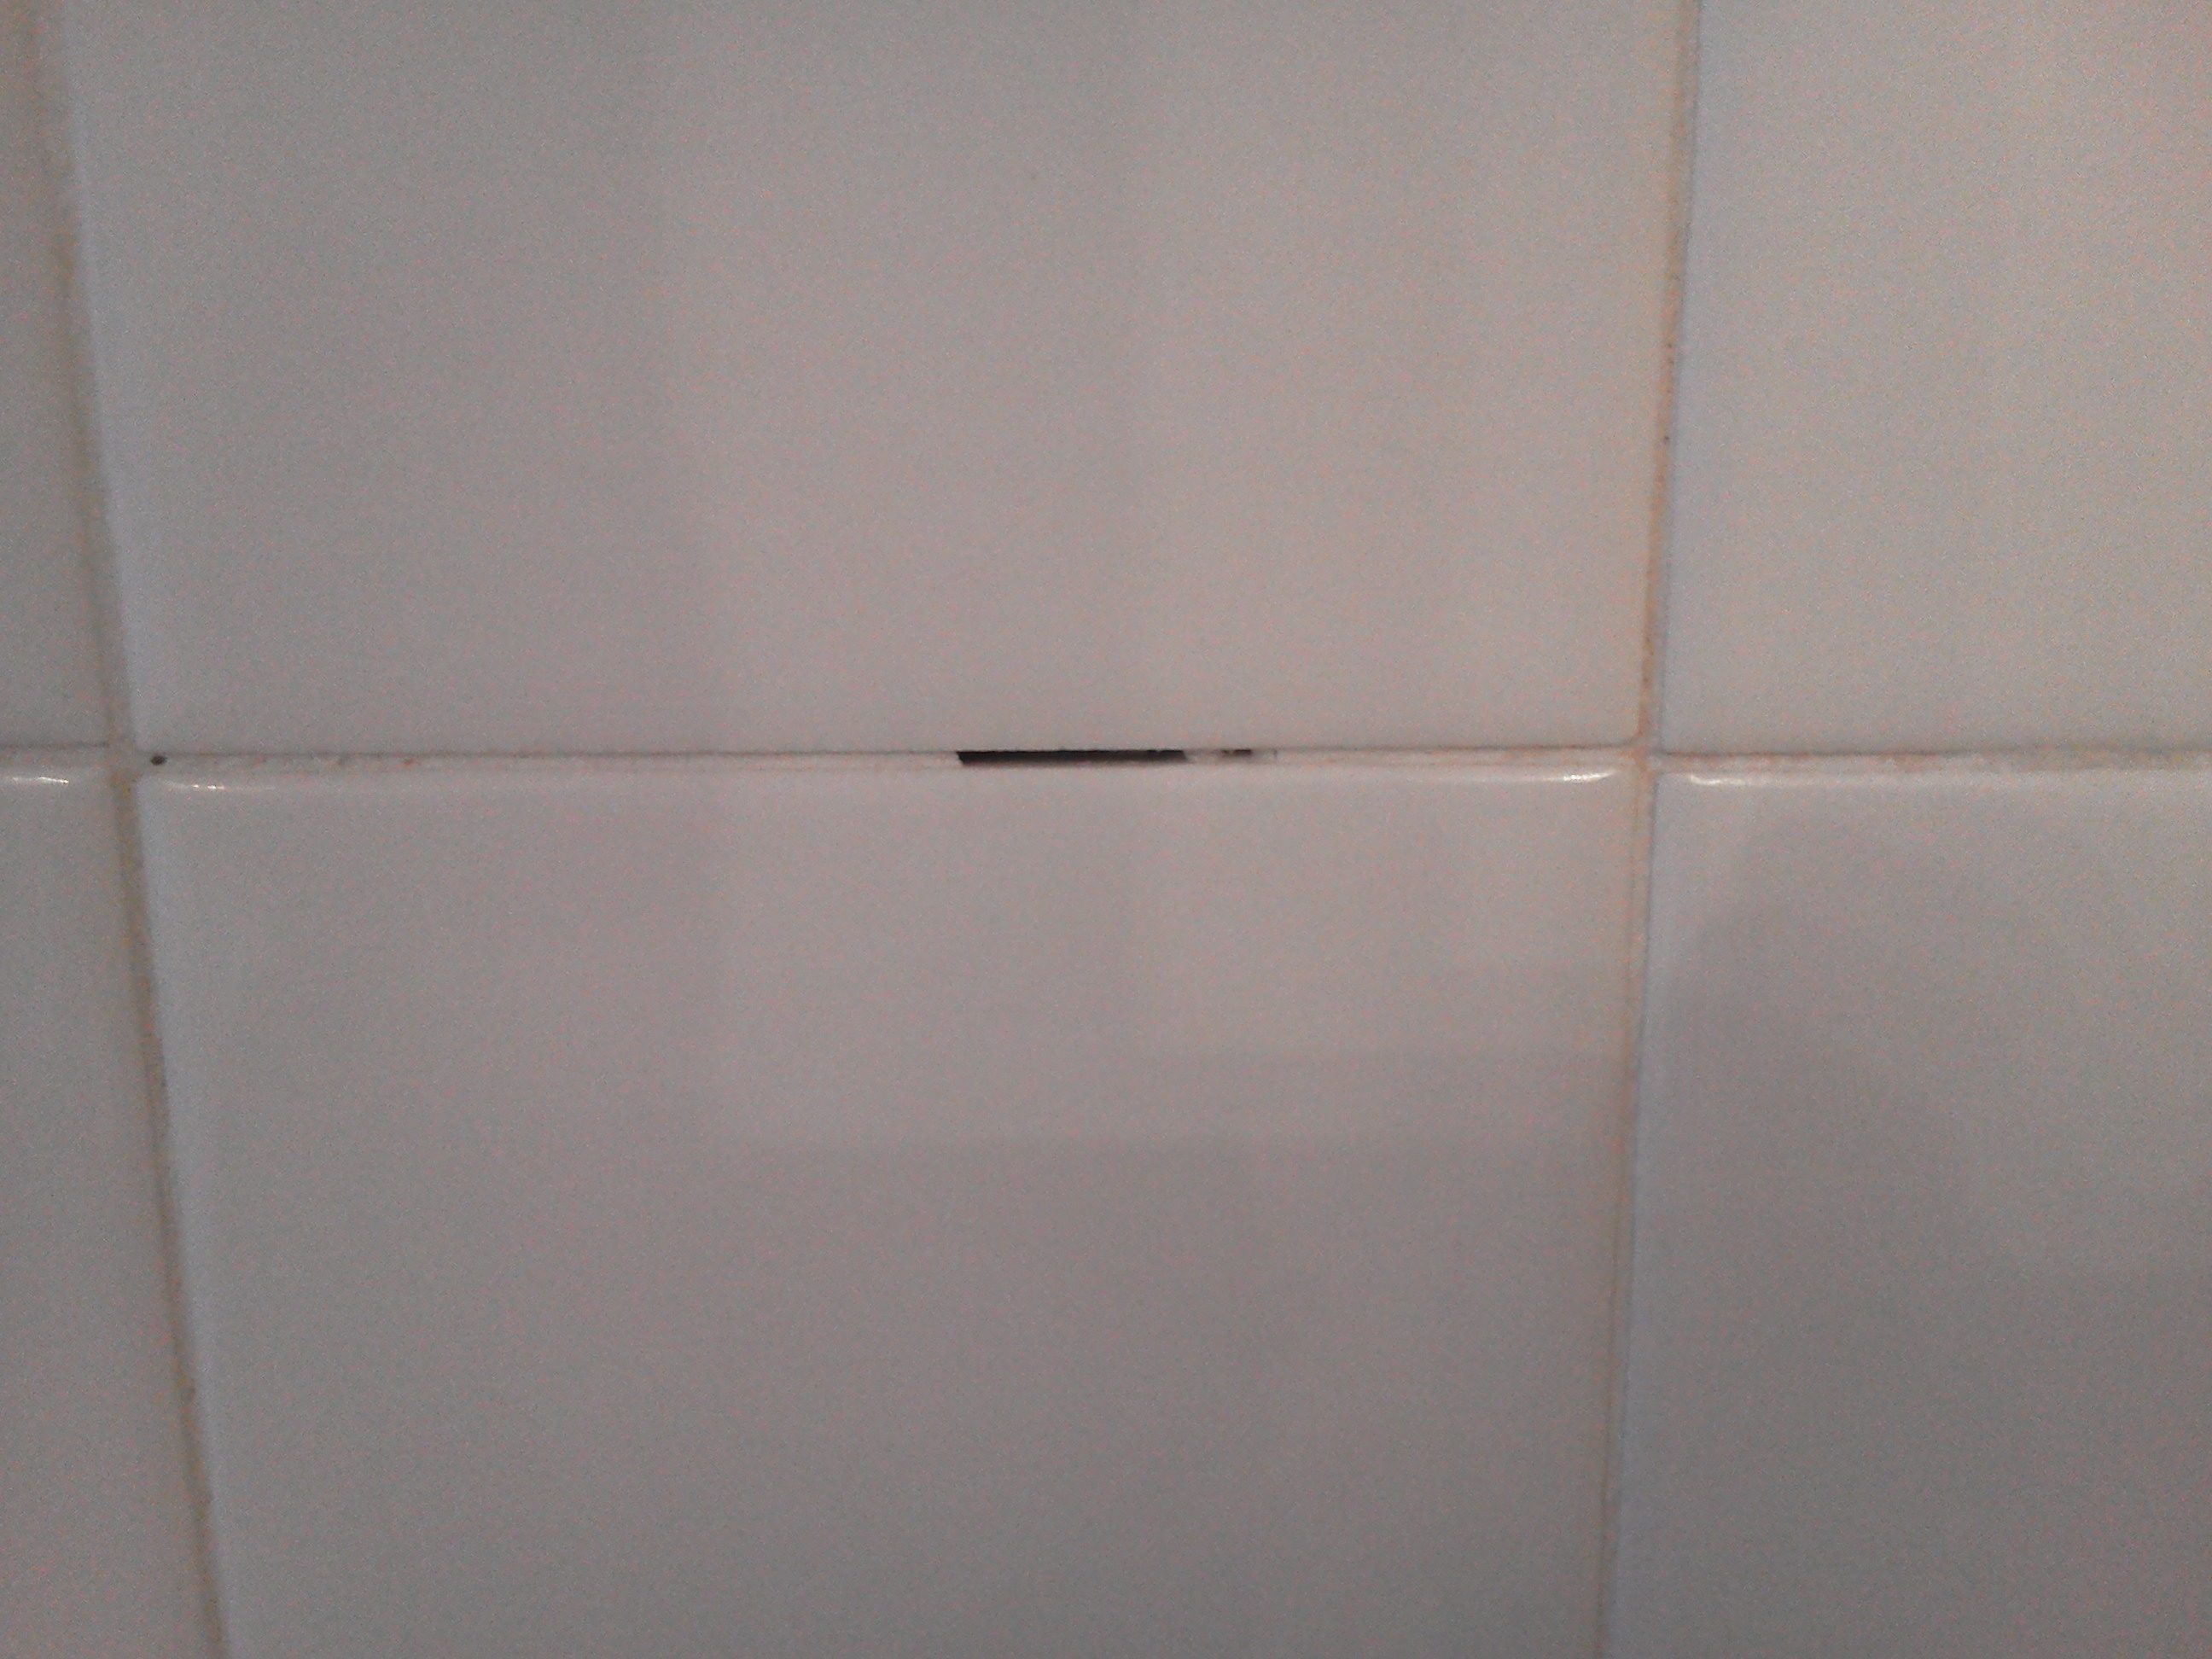
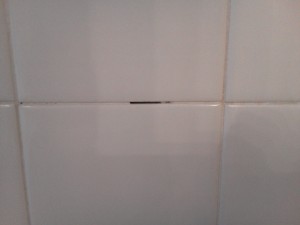
The first picture shows a half inch of  missing grout, more than enough to allow water to seep in and cause big problems.

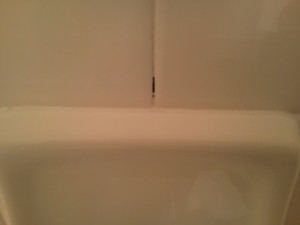
This next picture shows a small piece of missing grout directly above the soap dish, After a short period of time the soap dish will be history. It is common to see these problems in the lower front corner of the shower, the area that takes the direct water assault every day.

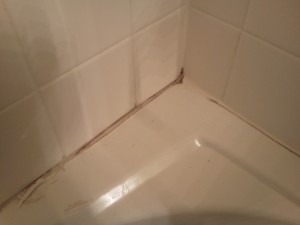
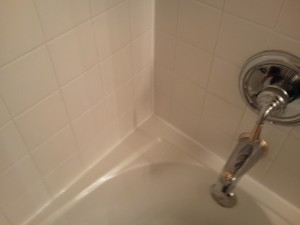
The third photo shows how the caulk has separated from the tub, once this happens water gets trapped behind the caulk causing it to turn black from the inside out. This also creates the problem of the water running along the lip of the tub, behind the caulk and tile, finding its way to the floor outside the shower, ultimately causing floor damage as well. Missing grout in Stafford Virginia shower

Inspect your grout and caulk periodically

It is a great idea to inspect all your tile work from time to time as most of these minor problems can be fixed easily and inexpensively, but putting it off will surely result in thousands of dollars in repairs.

What causes these problems?

There are many reasons grout and caulk fail, the main reason is poor installation. Grout is a cement based product that has no elasticity at all, so if there is any movement in the wall, floor, or tub, the grout will crack for sure. It is common for the grout to crack along the corners and edges after installation, when this happens we usually caulk those areas. Caulk has the elastic properties needed to handle the expansion and contraction that happens in all homes. Just filling a bathtub can be enough weight to compromise the joints between the tile and the tub if the subfloor, floor joists or tub installation does not meet code requirements.

Other common reasons for failure is improper mixing of the grout, over working the grout with too much water,  or not preparing the surfaces for grout and caulk. Caulk will not stick properly to surfaces that have moisture, soap scum, body oils, mold, mildew ect…

These additional reasons still fall under the improper installation category. The only reason that doesn’t fall under that category is faulty products. Bad grout and caulk is not common, but we do come across it from time to time. Just like grocery shopping, always check the dates on the product, I have come across many out of date products in the home centers across the Fredericksburg area. Never use grout or caulk that has been opened or laying around the garage for a long time. These products are inexpensive and it is definitely worth buying fresh sealed product for every job.

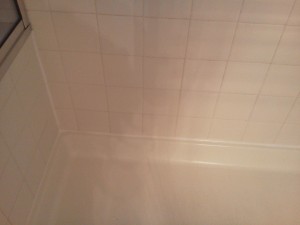
The last two photos show the same tub and shower I worked on, in Stafford County Virginia last week. Both were minor repairs that took less than an hour, and will save this rental property from big repairs and even worse…down time.

cracked separated caulk in stafford va

Cracked separated caulk


Stafford county shower repair


caulk job in stafford virginia