carpet cleaning cost

Jobs

Hey folks! thanks for stopping by our jobs post, here I will post pictures and videos of jobs we have done around Fredericksburg, Stafford, Spotsylvania and King George Virginia.

Carpet Stretching

This was a carpet stretching job we recently did in Spotsylvania Virginia, the customer was so happy she sent us these before and after shots she took.

Wrinkles in Carpet

Unfortunately carpet installers do a rush job and don’t use power stretchers to install to manufactures recommendations, causing these wrinkles to appear in a year or two.  Very common.


Very dirty rec room in Spotsylvania, cleaning up great!

Fredericksburg Carpet Cleaning

Basement Carpet Cleaning

Pet soil

These renters left this basement room go to the dogs.

Before
After Re-Grout

shower re-grout

Before and after, full re-grout and re-caulk , Idlewild 02/2018

Pro tile & grout cleaning 22408

Tile & Grout Cleaning at a commercial building down on the Tidewater Trail

Ceramic tile cleaning

Bathroom Tile & Grout Cleaning at an office in Fredericksburg Virginia 06/18/2018

carpet cleaning cost

Move out carpet cleaning, removing the orangy clay soil from this rental 06/06/2018

Traffic Lane Carpet Cleaning

Another moveout in Fredericksburg, heavily soiled but no match for our extremely powerful truckmounted equipment. 06/08/2018

Pristine Tile & Carpet Cleaning Sign on Aquia Creek

Our sign under the Aquia Creek train tracks, only visible to boaters. 06/17/2018

Carpet Cleaning with Filter Soil Removal

We were called out to do this home for sale after another carpet cleaner failed to get the stains out and address the filter soil issue. 05/04/2018

Grout Sealing

Should I seal my grout? Scotchguard the carpets?

To seal or not to seal?

Should I use a grout sealer? Should I add Scotch Guard to my carpets after cleaning? This is the question we get on almost every tile and carpet cleaning job we do. The answer is, it depends. Some grouts will benefit from a sealer more than others. Some carpet will benefit from protectors more than others. The reason for both are very similar even though the textiles are very different.

It really has to do with the absorbency of the textile. Sanded grout is much more porous than unsanded grout and should be sealed unless the grout was mixed with a grout additive. Grout additives are basically sealers built in to the grout. This helps it resist staining along with other benefits which include better bonding as well as better color uniformity. These additives are produced by many different manufactures and can be found in tile shops and home centers everywhere.

Grout Additives

We at Pristine Tile & Carpet Cleaning use grout additives in all of our grout mixes as we feel it delivers the best end results for our customers. If your unsure if your grout was installed with a additive, you can still apply a sealer. It won’t hurt it, it just won’t absorb into the grout as well and could be a waste of money. The piece of mind knowing it’s protected outweighs the possibility of permanent staining of unprotected grout.

Unsanded grout is is le

ss porous than sanded grout and will absorb less of the sealer. Epoxy grout is by far the least absorbent of the grouts and is not very common in the residential market. Carpet is the same as grout in the sense that different fiber types absorb more that others. For instance an olefin berber carpet will not absorb as much as nylon carpet. Some of the higher end carpets such as Stainmaster come with a protection from the factory and should be reapplied periodically.

How often do I need to seal?

Quality grout sealers can last many years, some claim 15 or 20 years. This really depends on the type of sealer and the traffic in your home as well as your cleaning habits. We strongly advise not to use harsh chemicals such as bleach or acids to clean. They will damage the grout as well as the sealer and even remove color. Always use neutral cleaners that do not leave residue that can cause rapid re-soiling.

Myth of sealers

Okay here is the big let down, sorry folks. Grout sealers and Scotchguard protector will not keep your floors or carpet from getting dirty! Foot traffic, dirty mop water, pets and children coming in and out will eventually take their toll and you will have to clean it. The good news is that the sealers will provide a protective barrier to prevent permanent staining and make cleaning easier. The trick to keep your grout or carpet from becoming permanently stained is to clean up the spill as soon as possible.

Water damage around bathtub

Leaking tubs and showers…Why?

We often get calls for tubs and shower leaks, most of the time the leak starts slow and is undetected, until some visible damage has occurred. One of the most common spots for damage to occur is outside the tub or shower in the corners. The main reason this happens is the caulk around the tub splits, cracks or separates from the tub and tile allowing water to get behind the caulk. Bathtubs and fiberglass shower pans have a one inch lip that runs all the way around it that the tile hangs over and covers. So the water channels along that lip behind the caulk, behind the tile, and behind the shower door frames, unseen. People often think their damage outside the shower is caused by careless family members not be careful with shower curtains and such, not usually the case.

This is an example of caulk that has split allowing water to penetrate it.

This is an example of caulk that has split allowing water to penetrate it.

Inspecting your showers and tubs on a regular basis will greatly reduce the chance of structural damage. If you see any cracked, loose or missing grout and or caulk, take care of it asap. If left unattended the sub-floor under the tub will rot, becoming soft and allowing the tub to move when someone stands in it. If this happens, it will be difficult to maintain a caulk bead around the tub that won’t crack. At that point, the tub would have to be removed and the sub floor repaired, this can be quite expensive.

The key to getting a good, long lasting seal is the preparation. All the old damaged caulk and grout must be removed, dried and properly cleaned. Making sure the cracks and crevices are dry is super important, the new caulk will not adhere or set up correctly if there is any moisture present. This is the number one reason for failed caulk jobs. We use toilet paper to find, and wick out moisture in hard to reach spots, shop vacs can be used if there is a substantial amount of water trapped.

Once the old, damaged caulk is completely removed, we need to make sure the crevice is completely 100% dry.

Once the old, damaged caulk is completely removed, we need to make sure the crevice is completely 100% dry.

Then a heat gun is carefully used to further dry the area. Some custom shower floors that have a hand made shower pan with tile & grout can take a very long time to dry out enough to re-grout. We have had some that took a month, with a dehumidifier in the shower before we had acceptable numbers on our moisture meter.   Once all the necessary preparation is done we install a mold and mildew resistant silicone caulk.

It is very important to use mild cleaners to gently clean the surfaces, harsh chemicals such as bleach and abrasive cleaning sponges or scrub brushes are a sure fire way to damage your grout and caulk. People that tend to be obsessive about cleaning, can be doing more harm than good. Yes, you can overclean!

After the surfaces are properly prepared, new caulk is installed, making this tub water tight once again.

After the surfaces are properly prepared, new caulk is installed, making this tub water tight once again.

floating grout in Fredericksburg Va

How to regrout a shower

After years of being bombarded with water, cleaning agents, and scrubbing, your grout may have had all it can take. Grouting a shower or bathtub surround is actually quite a bit of work. All the old grout and caulk must be removed before the new grout and caulk can be replaced. We often come across jobs that were not prepared correctly and the new grout just fails. New grout cannot be floated or skimmed over old grout, it will just flake off in no time. However, we see this all the time, especially in today’s real estate market. Skim coating is common in properties for sale. It’s real hard to sell a house that has an ugly black shower, a quick skim and a bead of caulk to cover up all that black stuff might just be enough to pass it off to an unsuspecting buyer.

How to regrout a shower properly

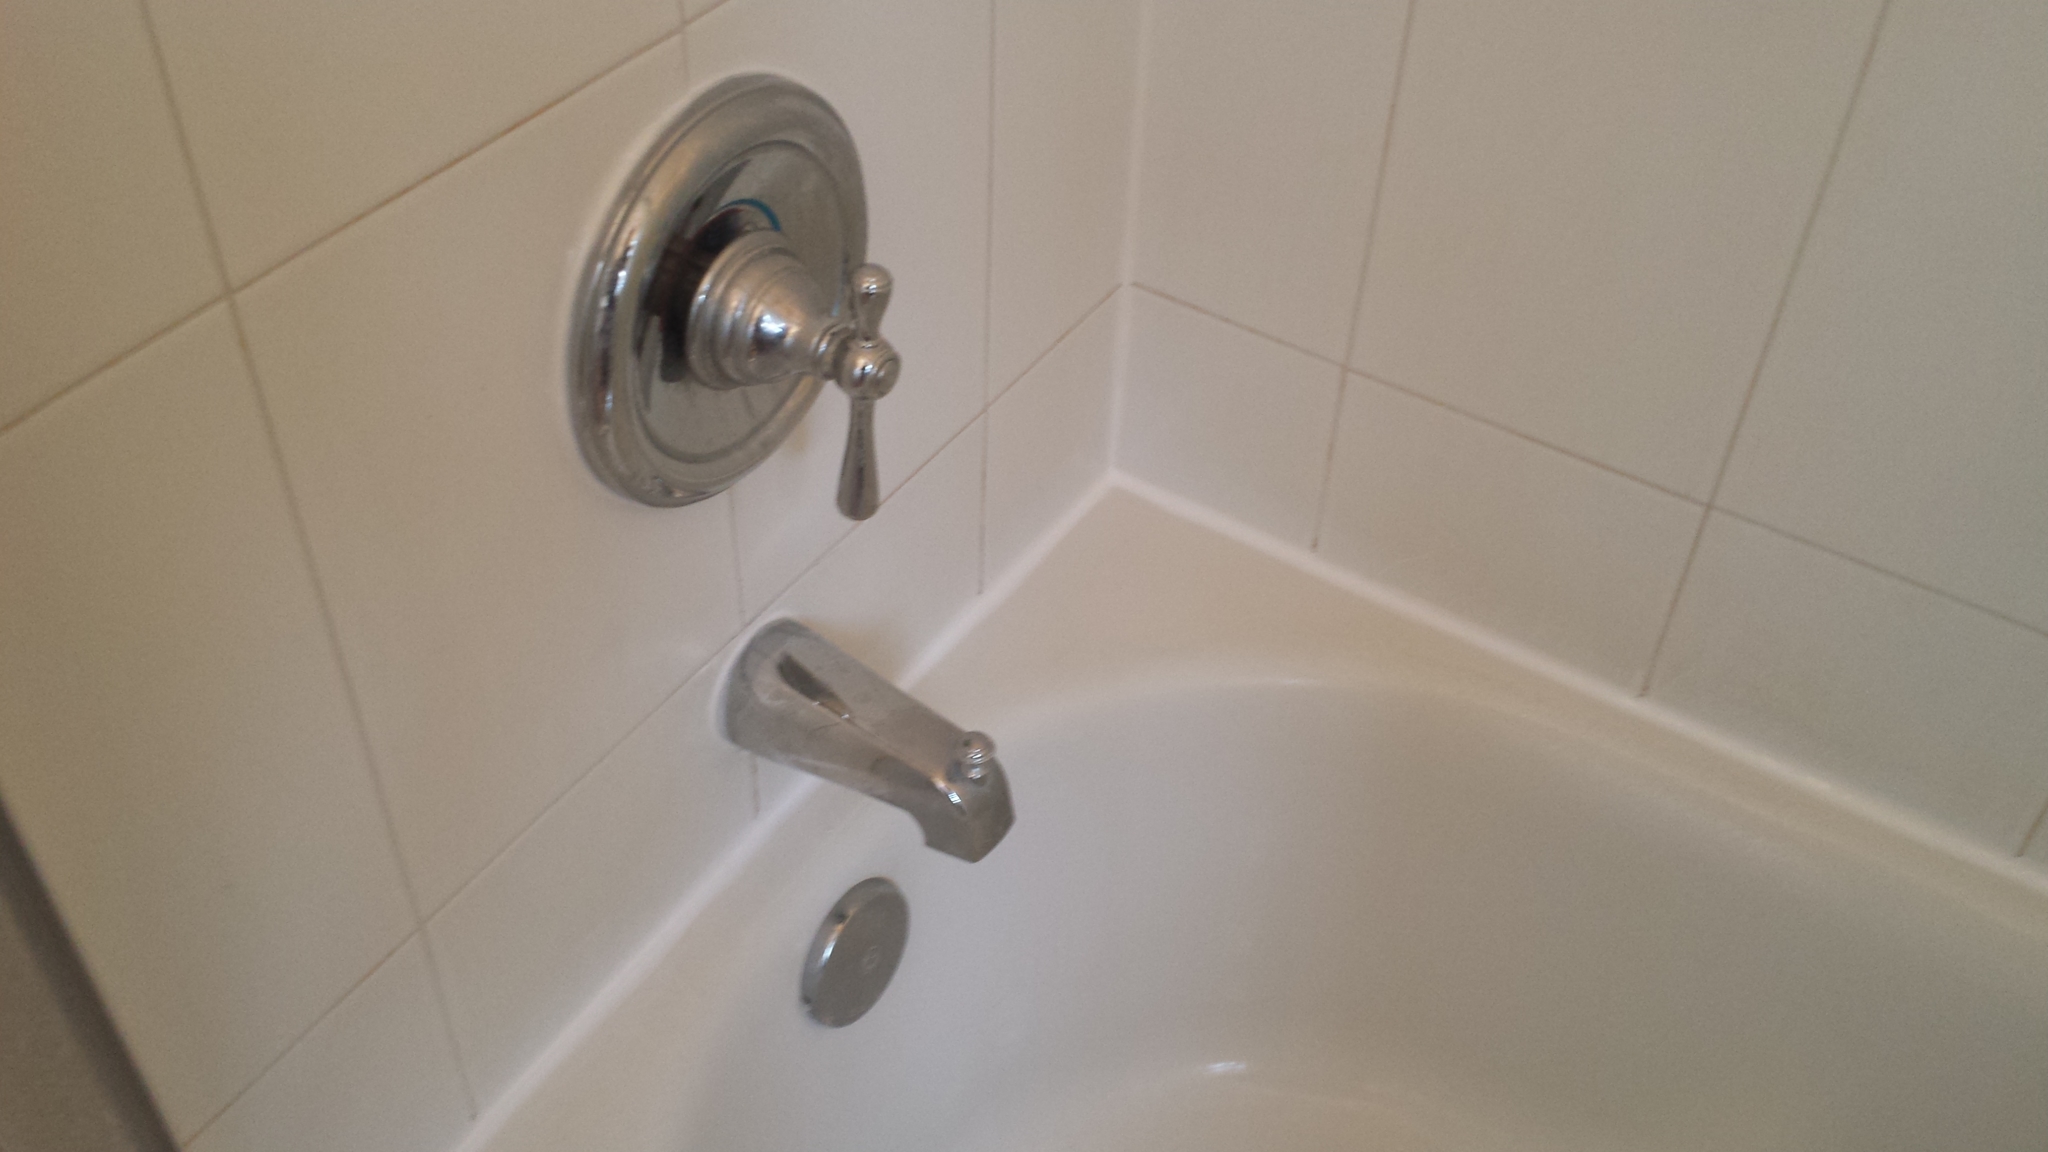
Preparing the surface

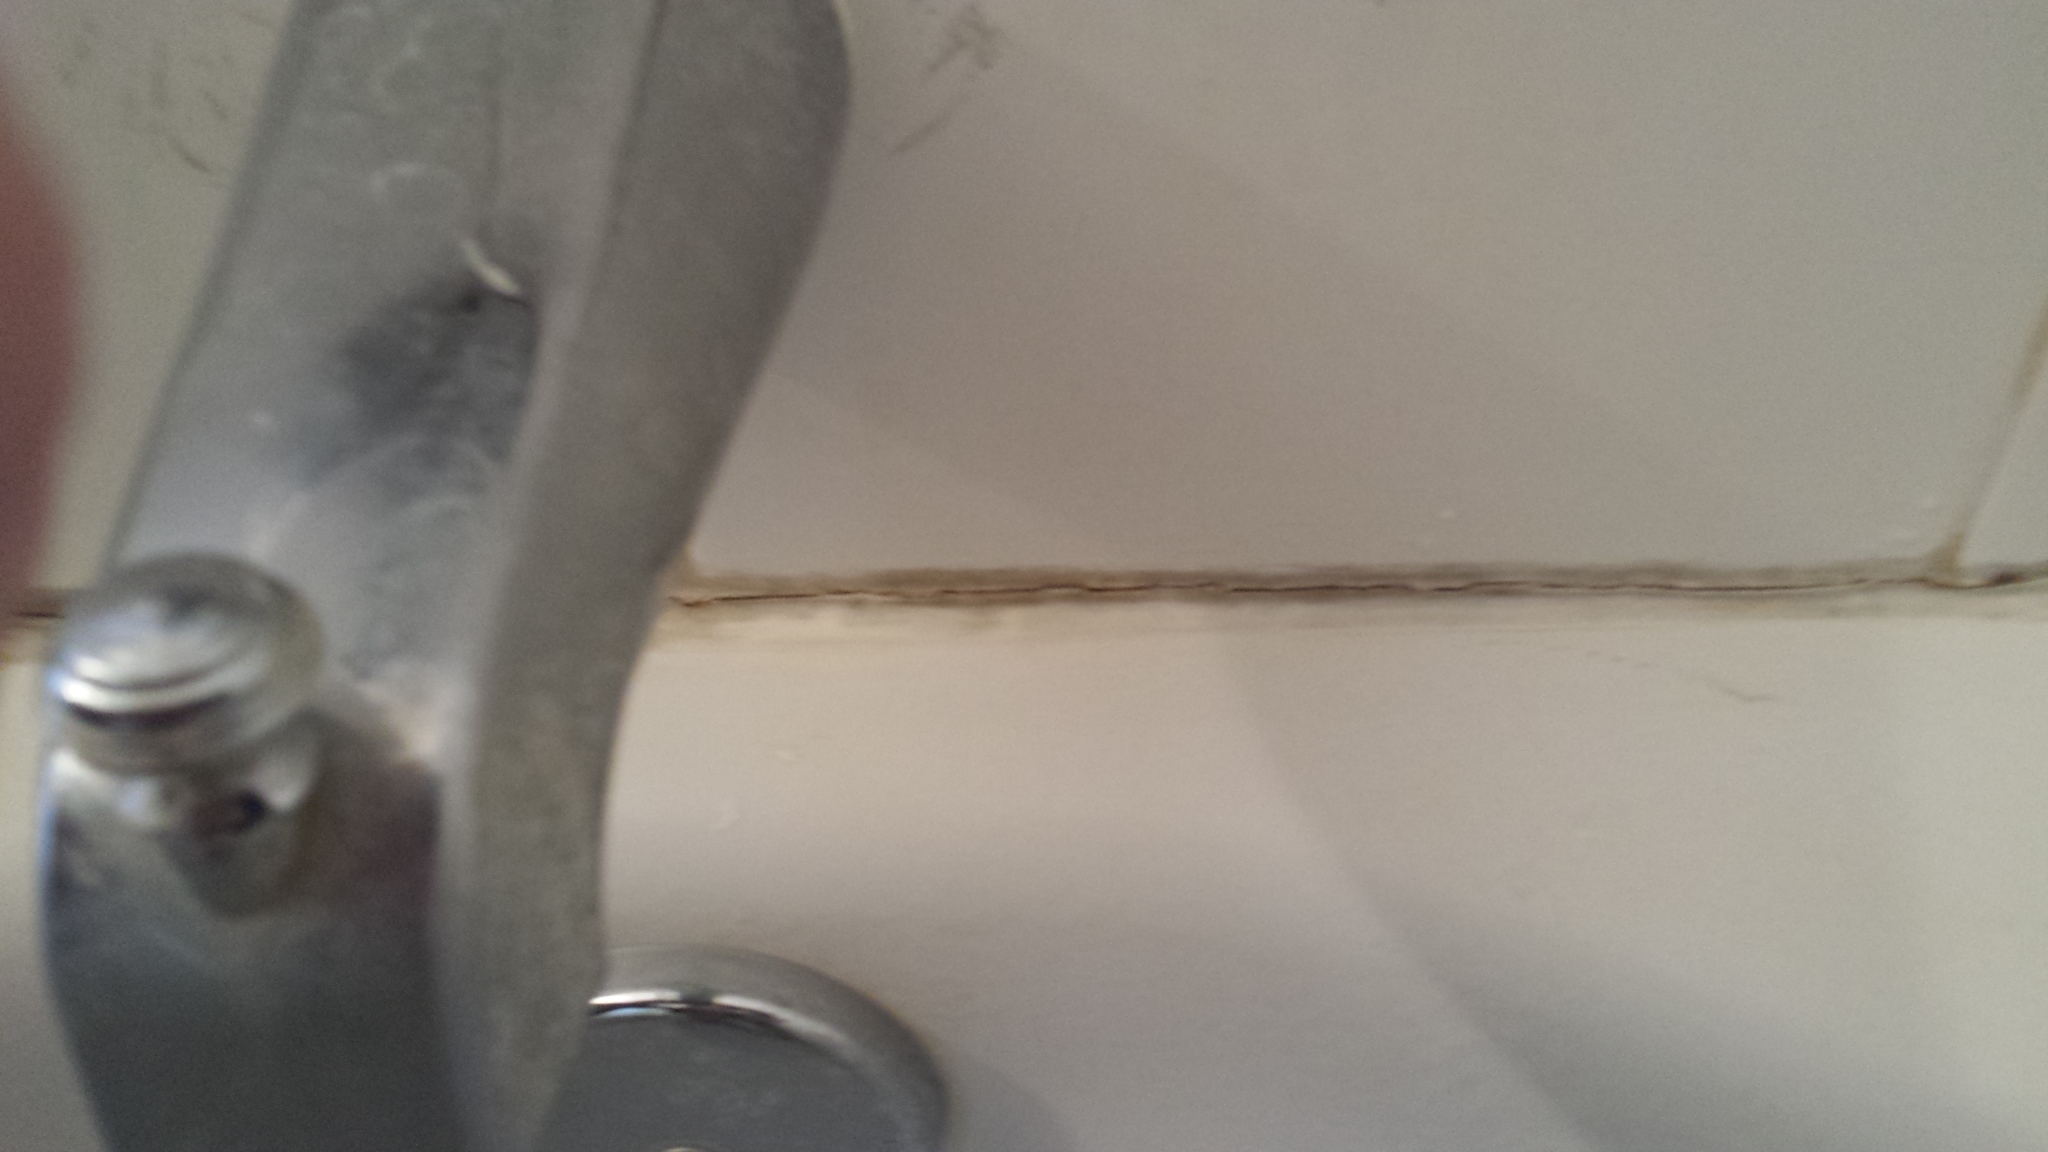
This picture shows a properly prepared surface for the new grout. We used various grout saws, utility knives and lots of elbow grease to remove all the old grout and caulk. Many contractors or even homeowners use electric dremel type tools to do this, we prefer hand tools to reduce any risk of chipping a tile. It’s always best practice to wear safety goggles during this procedure. After all the grout and caulk is removed give the shower a good vacuum and wipe down with a damp grout sponge. If the tile had any build up of calcium or soap scum that would be cleaned real good before the grout removal, so excess water would not get between the tiles. The preparation of the shower is the most tedious and time consuming of the job, this next part goes much quicker but does require some skill level.


properly removed grout

all old grout removed


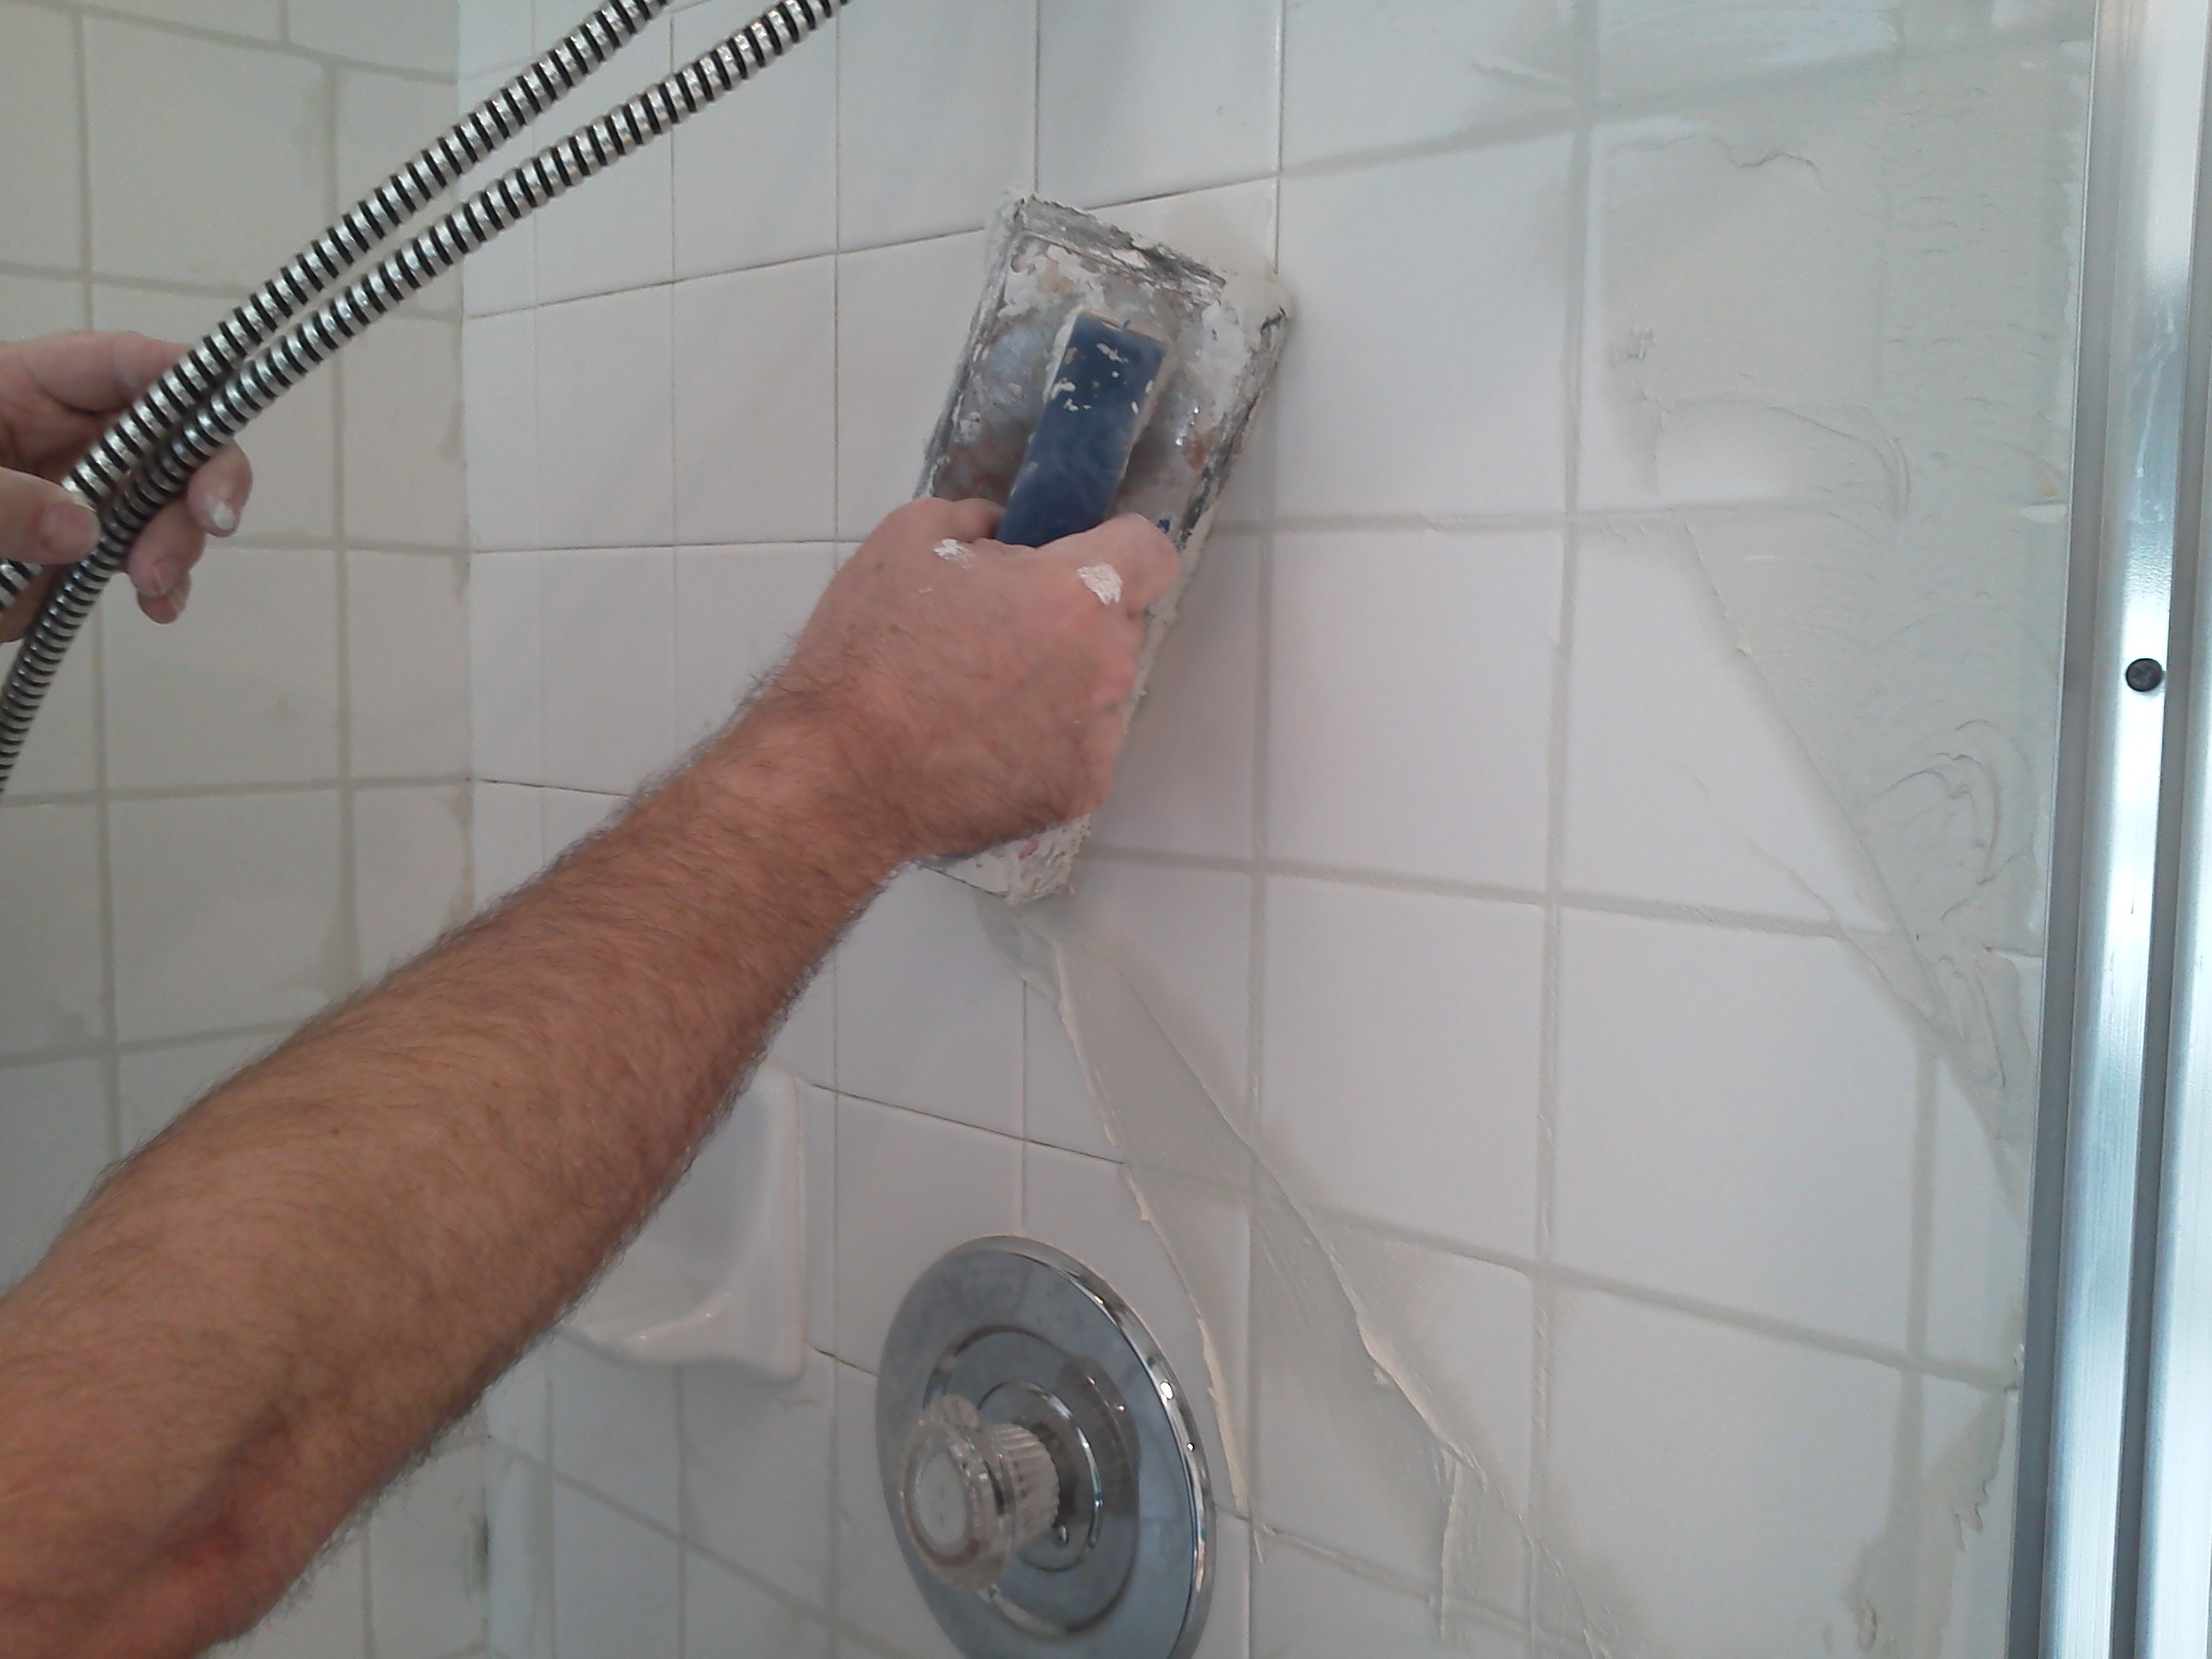
Installing the new grout

floating grout in Fredericksburg Va

Regrouting showers is something we also do.

Floating grout can be a bit tricky for the newbie. Newly mixed grout is just a little thicker than pancake batter, but starts getting thicker and harder to spread as it starts to set up. That can be a problem for someone that does not have the speed of a pro. It’s important to never add water to the grout after it’s initial mixing, that will ruin it.

After working the grout into all the joints, It’s important to get as much of the excess grout off the tile by placing the float on an angle and wiping across the tile diagonally, as shown.

Clean up

After the grout has been floated onto the walls, it is then wiped clean with a grout sponge. Sponging also helps even out all he grout lines for a nice even professional look. Now this is the important part, don’t over work the grout with too much water in the sponge or re wipe areas already wiped. Just wipe it once, and leave it. The tiles will haze over and will buff off easily with a clean white terry cloth towel in about 2 hours. While buffing the tile it’s advisable to wear a respirator, the fine dust produced is not good for you to breath.

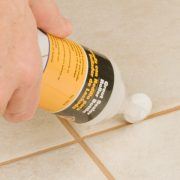
The final icing on the cake is the caulk, I like to caulk around the base of the shower pan and up the corners as well. Most of the unsanded grouts found today have polymers in the grout and don’t need sealing. I do however recommend sealing sanded grout, usually found on floors.

Pristinepete.com

sponging the tile & goout

Wiping and smoothing grout joints