Leaking tubs and showers…Why?
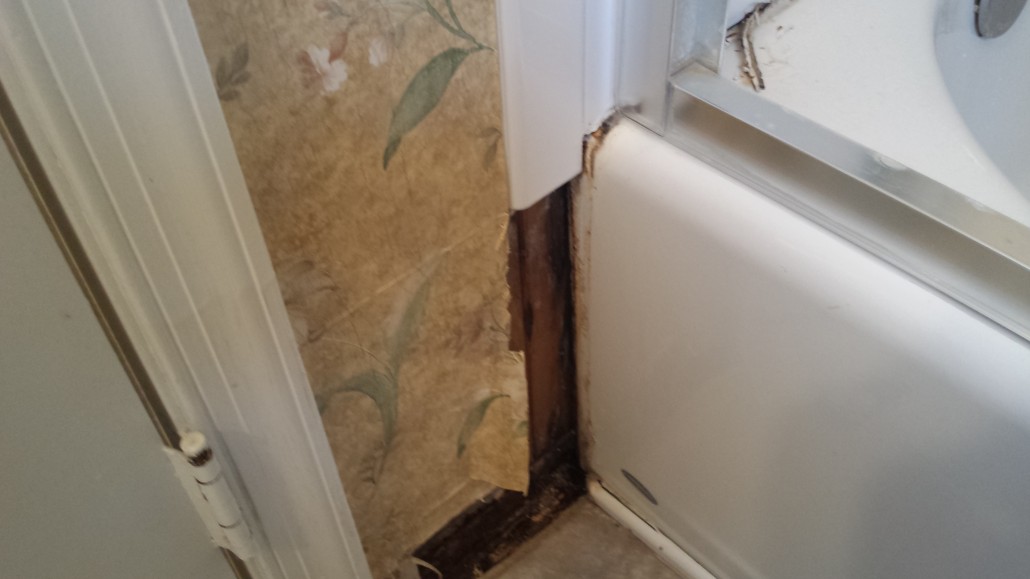
We often get calls for tubs and shower leaks, most of the time the leak starts slow and is undetected, until some visible damage has occurred. One of the most common spots for damage to occur is outside the tub or shower in the corners. The main reason this happens is the caulk around the tub splits, cracks or separates from the tub and tile allowing water to get behind the caulk. Bathtubs and fiberglass shower pans have a one inch lip that runs all the way around it that the tile hangs over and covers. So the water channels along that lip behind the caulk, behind the tile, and behind the shower door frames, unseen. People often think their damage outside the shower is caused by careless family members not be careful with shower curtains and such, not usually the case.
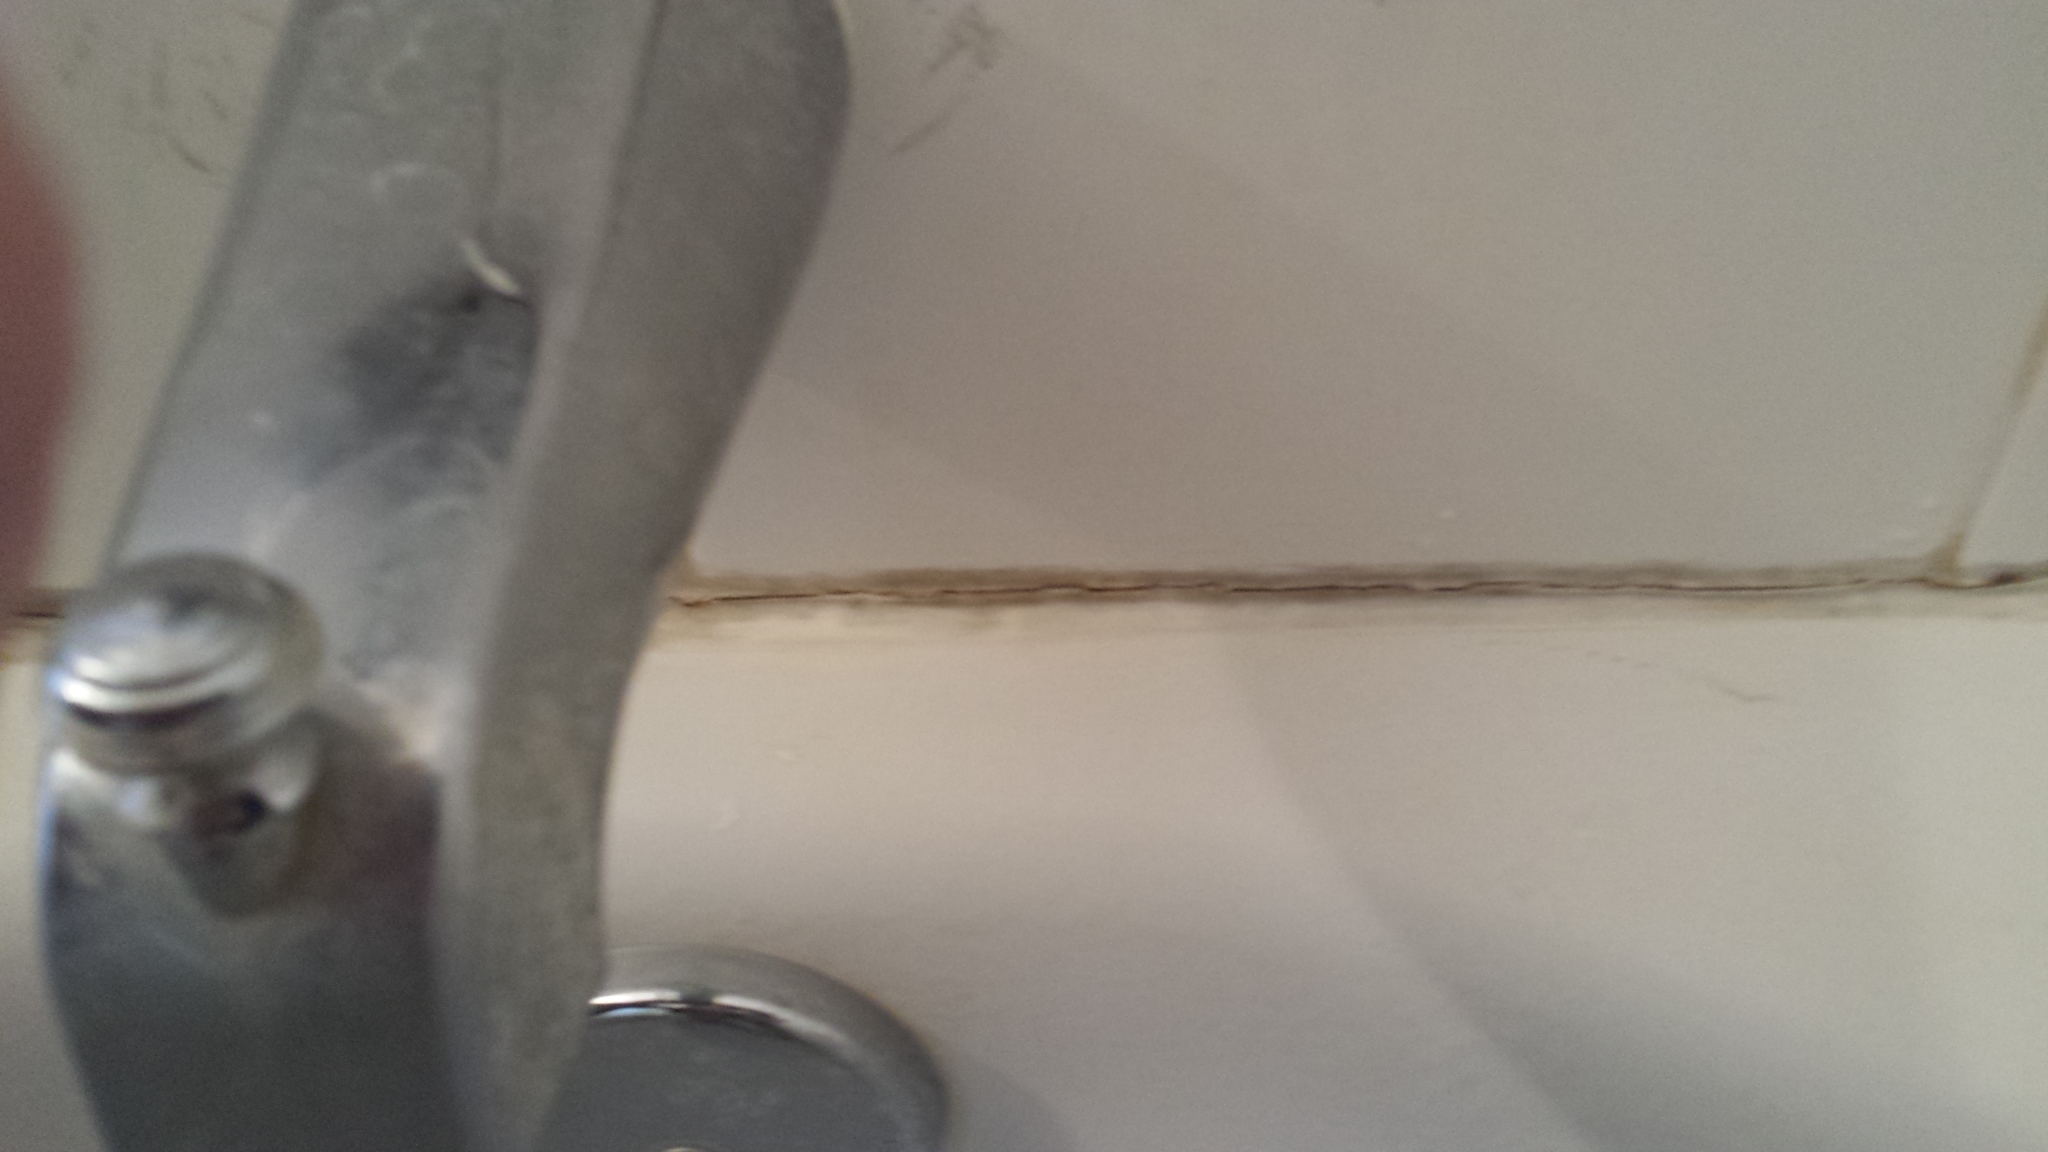
This is an example of caulk that has split allowing water to penetrate it.
Inspecting your showers and tubs on a regular basis will greatly reduce the chance of structural damage. If you see any cracked, loose or missing grout and or caulk, take care of it asap. If left unattended the sub-floor under the tub will rot, becoming soft and allowing the tub to move when someone stands in it. If this happens, it will be difficult to maintain a caulk bead around the tub that won’t crack. At that point, the tub would have to be removed and the sub floor repaired, this can be quite expensive.
The key to getting a good, long lasting seal is the preparation. All the old damaged caulk and grout must be removed, dried and properly cleaned. Making sure the cracks and crevices are dry is super important, the new caulk will not adhere or set up correctly if there is any moisture present. This is the number one reason for failed caulk jobs. We use toilet paper to find, and wick out moisture in hard to reach spots, shop vacs can be used if there is a substantial amount of water trapped.

Once the old, damaged caulk is completely removed, we need to make sure the crevice is completely 100% dry.
Then a heat gun is carefully used to further dry the area. Some custom shower floors that have a hand made shower pan with tile & grout can take a very long time to dry out enough to re-grout. We have had some that took a month, with a dehumidifier in the shower before we had acceptable numbers on our moisture meter. Once all the necessary preparation is done we install a mold and mildew resistant silicone caulk.
It is very important to use mild cleaners to gently clean the surfaces, harsh chemicals such as bleach and abrasive cleaning sponges or scrub brushes are a sure fire way to damage your grout and caulk. People that tend to be obsessive about cleaning, can be doing more harm than good. Yes, you can overclean!
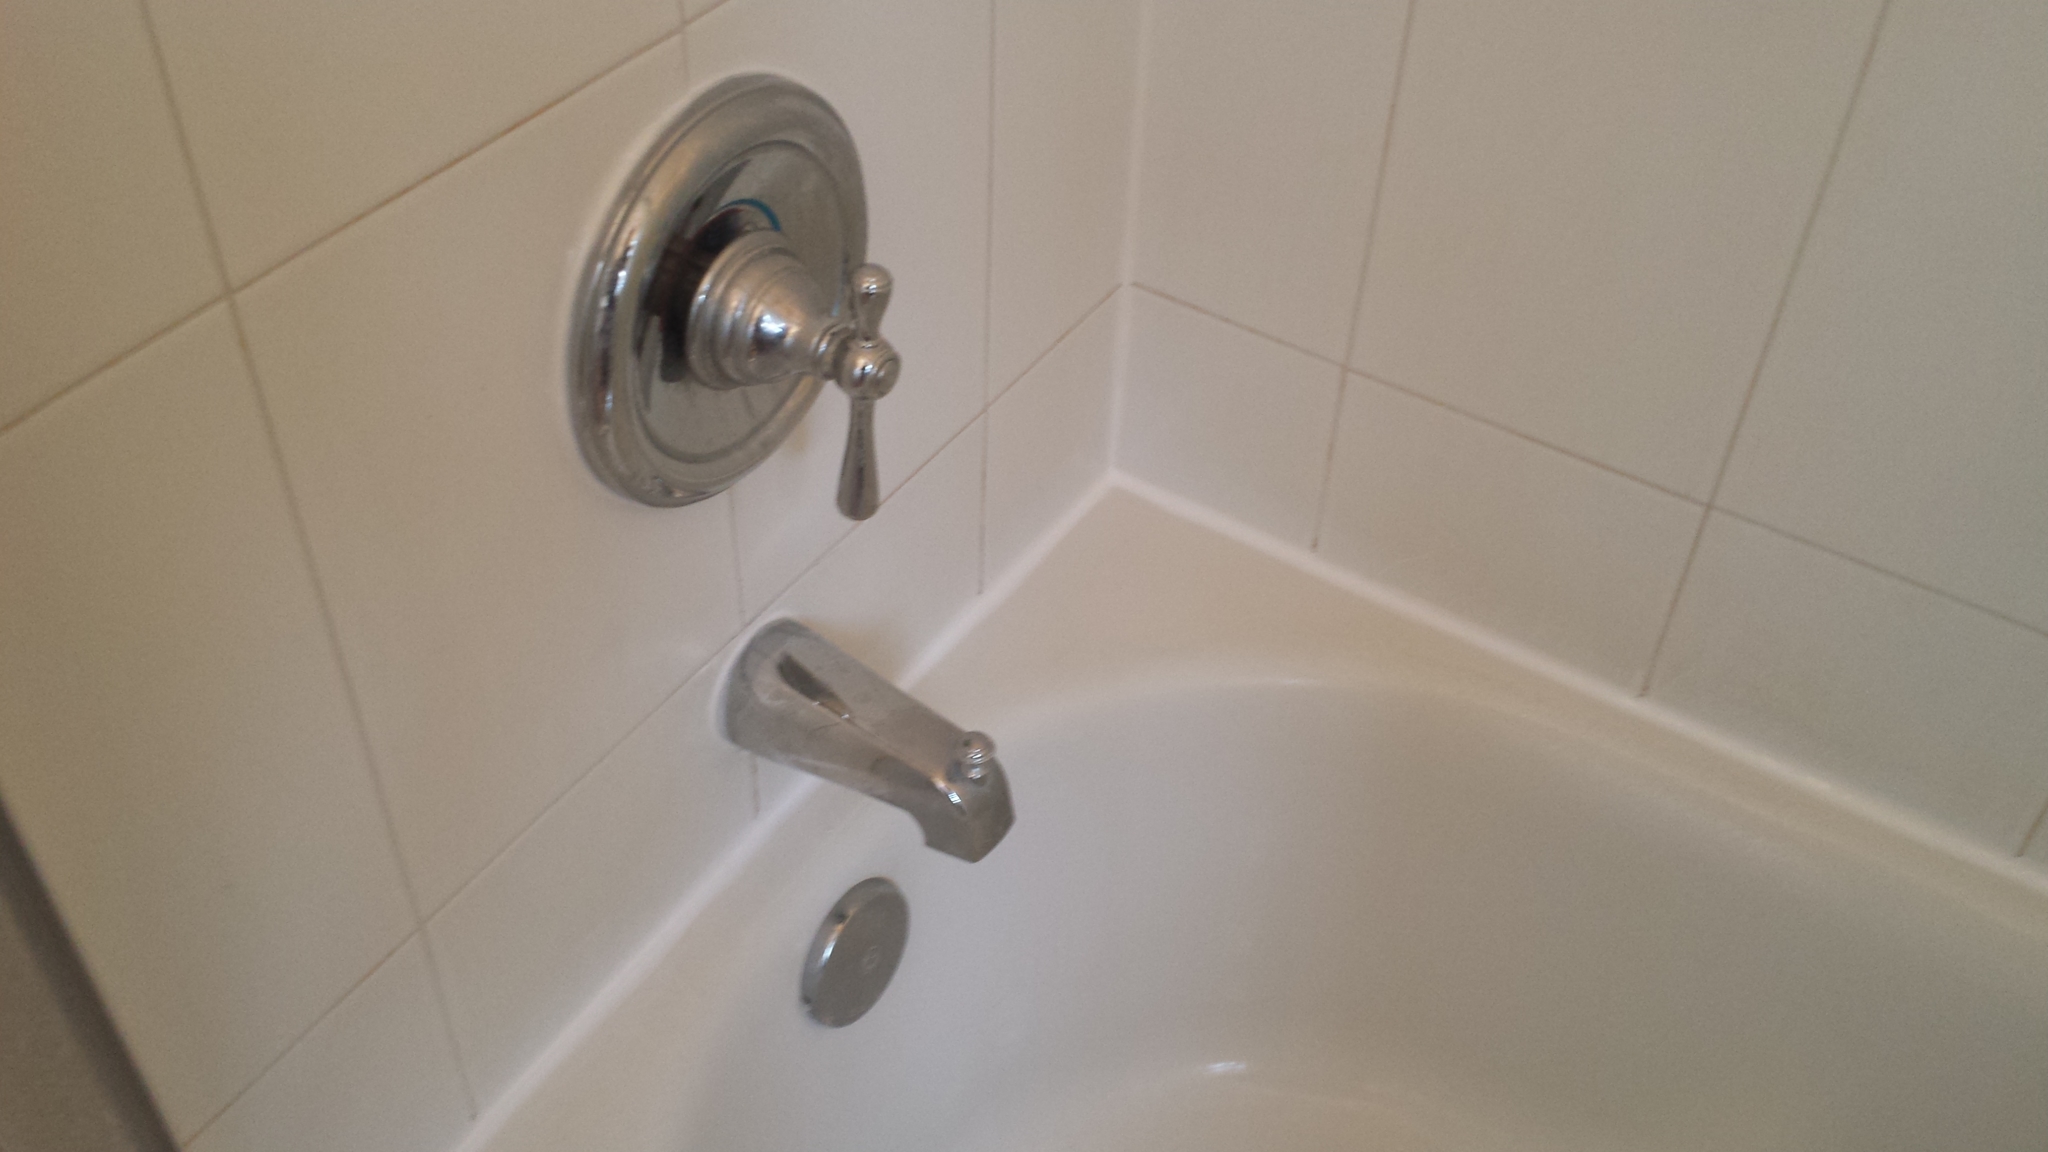
After the surfaces are properly prepared, new caulk is installed, making this tub water tight once again.


